FHIR it up! Just the other day I decided to get back around to reviewing the FHIR resources and potential integrations. In order to get a local system up and running I decided to deploy the HAPI FHIR JPA server on top of a local MySQL Instance. As usual, for most of my work I would be doing this on a Mac OS. At time of writing Mac OS High Sierra 10.13.4, but earlier OS versions should work as well.
Prerequisite: Git client installed on your local system, as of writing v2.15.1 Tomcat, as of writing v9.0.4
There is documentation on HAPI available at http://hapifhir.io/, but it is rather sparse. It’s decent documentation and you will find bits of pieces of key information throughout the pages. You can probably patch things together by looking at source code, the documentaiton, and a little trial and error.
However, I will try to make it a little easier for anyone who would like to get a local Hapi FHIR server up and running and backed by a MySQL Instance.
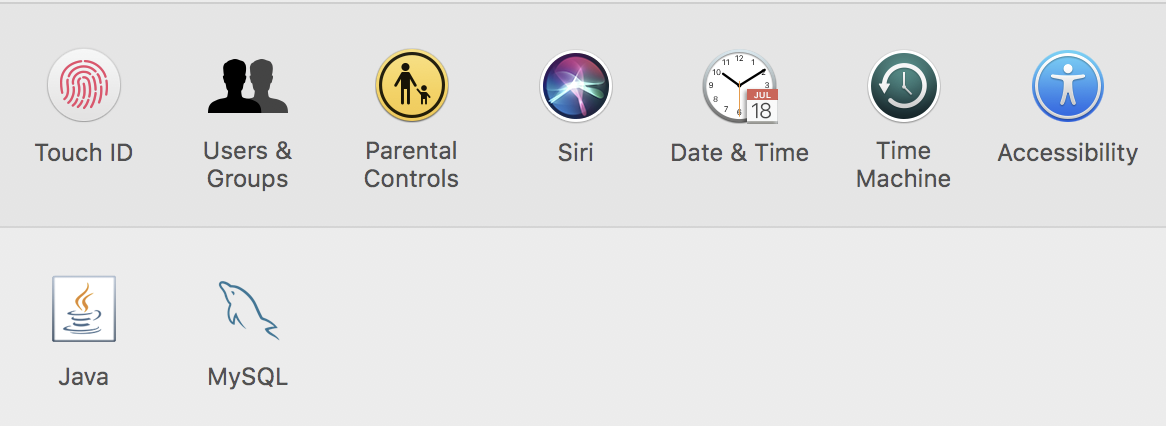
1) First was to install MySQL. MySQL 8 became GA as of April 2018, so I figured I would give it a try. I downloaded the community version from https://dev.mysql.com and performed the install (all very straight forward). The latest GA version at time of writing was 8.0.11. One gotcha: if you want to download and install the MySQL Workbench to have a nice visual SQL tool then you will need to avoid using the “Use Strong Password Encryption” configuration during the MySQL install sequence. At the time of this writing MySQL Workbench (v6.3.10) had not been modified to work with the strong password encryption. However it does connect and work fine with MySQL 8. You need to just use the “Use Legacy Password Encryption” option when you install MySQL 8. The latest GA version at time of writing was 8.0.11. Once it is installed on Mac there will be a Preference Pane that gets installed by default and is available under the System Preferences.
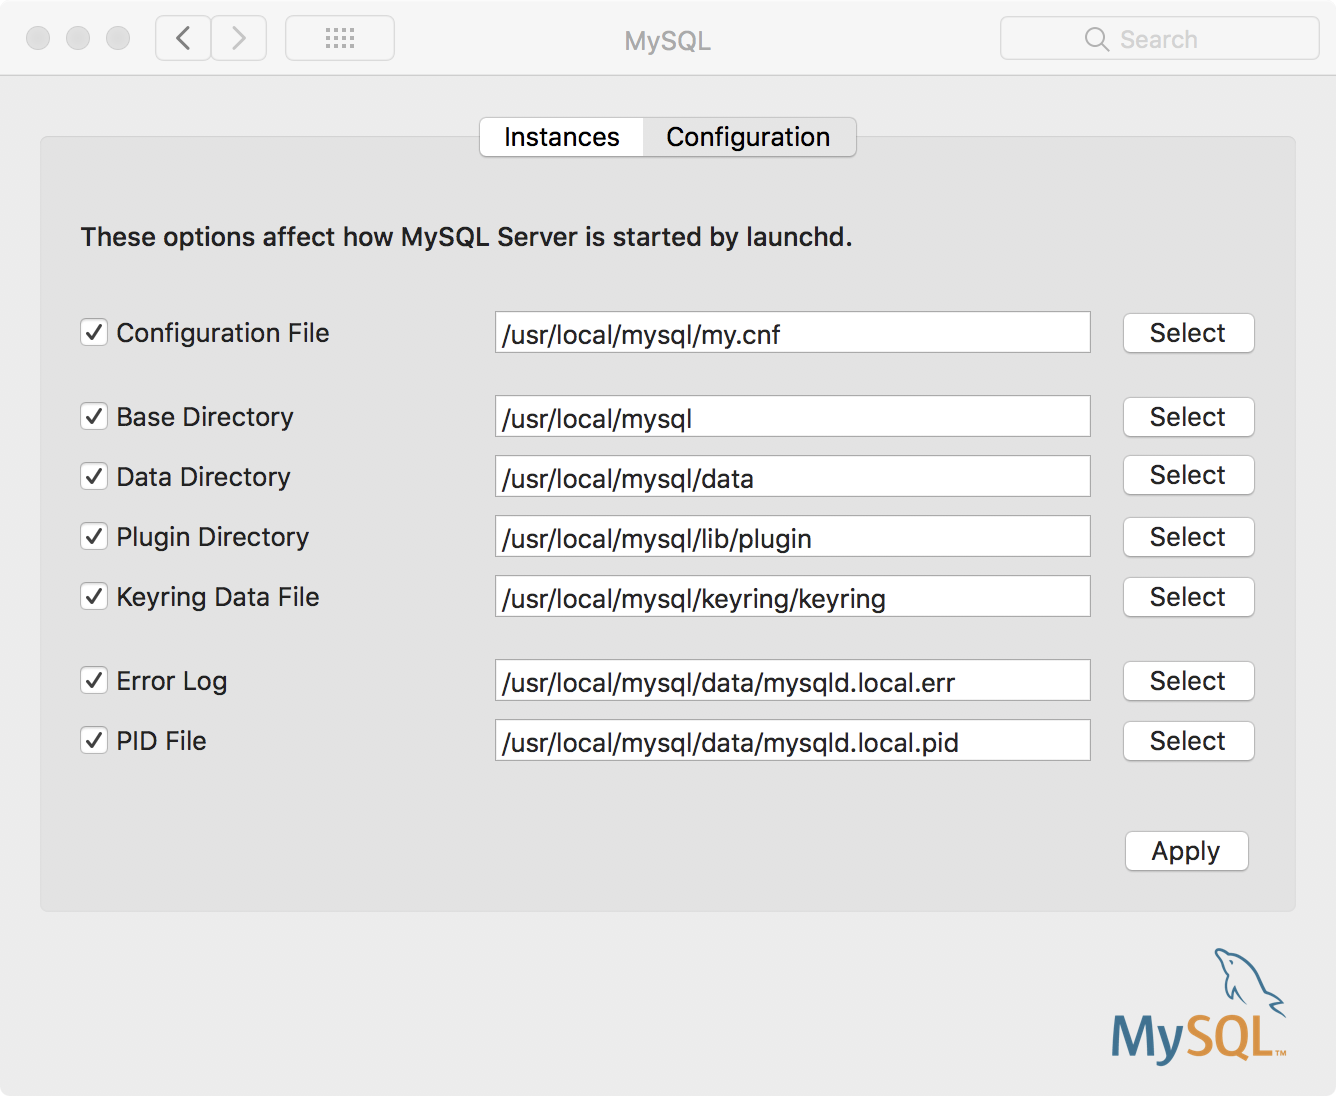
2) MySQL Option Configuration for HAPI For the HAPI JPA Server to work appropriately you will need to set a global timezone for MySQL. I suggest setting it to UTC (‘+00:00’). The easiest way to do this is to open the preference pane and click on the “Configuration” tab. The “Configuration File” entry will be blank. You will need to create an options file and enter the path to the new file in the “Configuration File” field. The value I used for my setup was /usr/local/mysql/my.cnf.
The content of the my.cnf file is simply:
[mysqld]
default-time-zone = '+00:00'
Create your equivalent file, save the file, and then restart your MySQL server so the setting changes take effect. You can restart from the Preference Pane, Instances Tab; click the “Stop MySQL Server” button and then when available click the “Start MySQL Server”. If everything is set up appropriately you will see the light indicator shows green.
3) Download HAPI server As indicated Git client is a prerequisite. I changed directory to where I would like to store the local repo and then simply performed a git clone.
git clone https://github.com/jamesagnew/hapi-fhir.gitThere are multiple projects within the repo and all of them will be brought down to your local repo. The project you are going to be tweaking and using is hapi-fhir-jpaserver-example. Be careful there is also hapi-fhir-jpasserver-examples. We will be using the former.
4) Setup project in your Editor. I am using STS (Spring Tool Suite). Open STS and decide which workspace you would like to use (an existing one or a new workspace). Import as an exisitng Maven project.
Go to File -> Import.
In the Import dialog select Maven -> Existing Maven Projects and click Next.
On the Select Maven Projects dialog browse to the Git repo root for hapi-fhir. You will see all of the different projects. Feel free to pull in everything if you want, but for this effort I just pulled in hapi-fhir-jpaserver-example. Click the Deselect All button and then click the checkmark next to hapi-fhir-jpaserver-example and click the Finish button. The project will get imported into STS and is ready for review modifications.
5) Create MySQL schema and fhir database user that will be used by your hapi-fhir jpa server. I utilized MySQL Workbench to create the user for this project and the empty database schema. You obviously could use command line or MySQL scripts to create them as well.
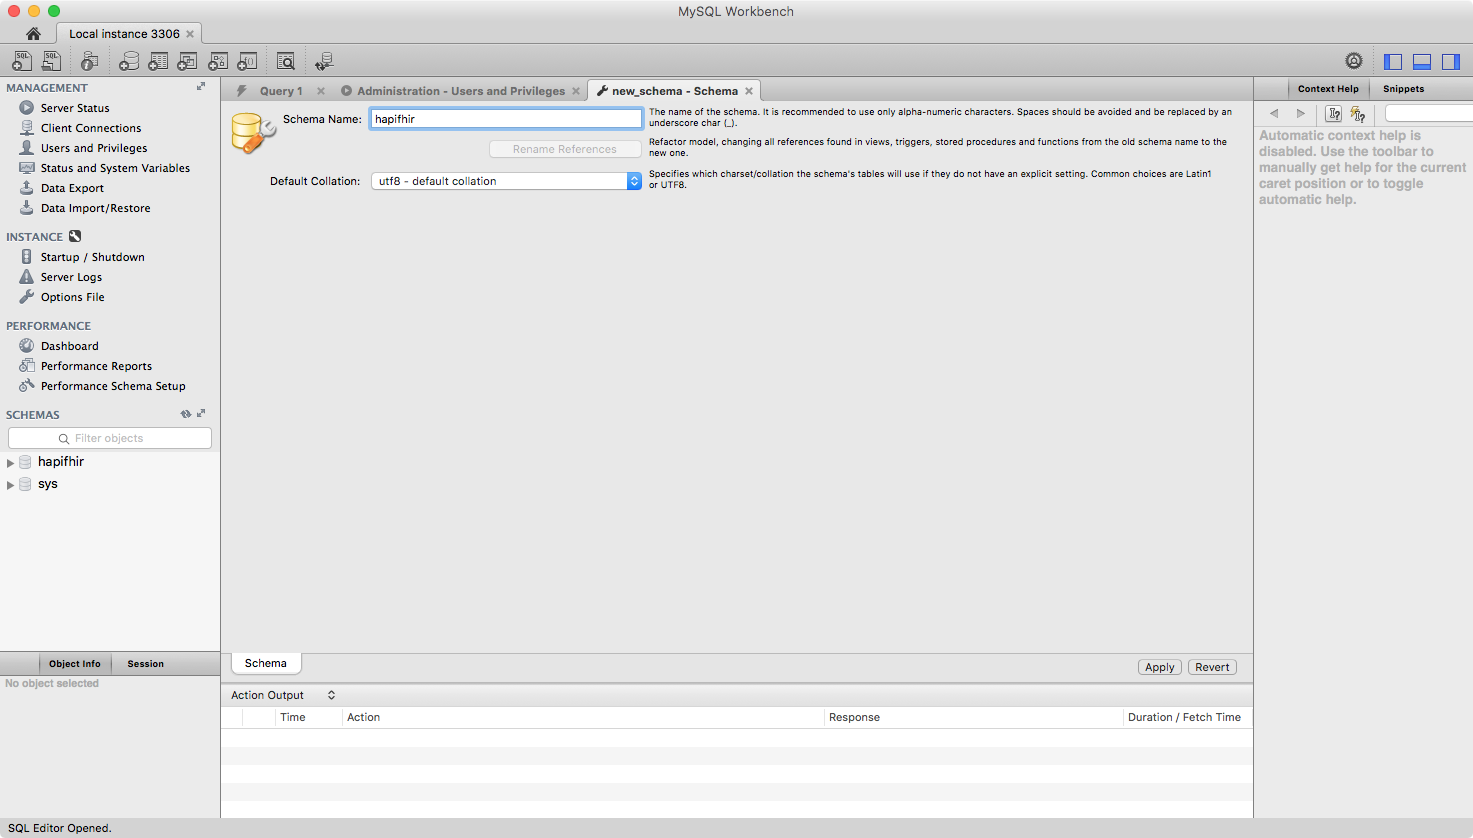
Create the schema: Simply right click in the Schema pane of the home page and select the “Create Schema” option from the pop-up dialog.
On the “new_schema” page enter the schema name. For this example I am using hapifhir. Select the Default Collation from the dropdowm. I suggest “utf8 - default collation”. Then simply click the “Apply” button to complete the schema creation.
Add the user: Click on the “Users and Privileges” link under account management and fill out the user details on the Login tab. The login name I used for this example was fhirjpa. Feel free to use whatever you like and make the appropriate modifications.
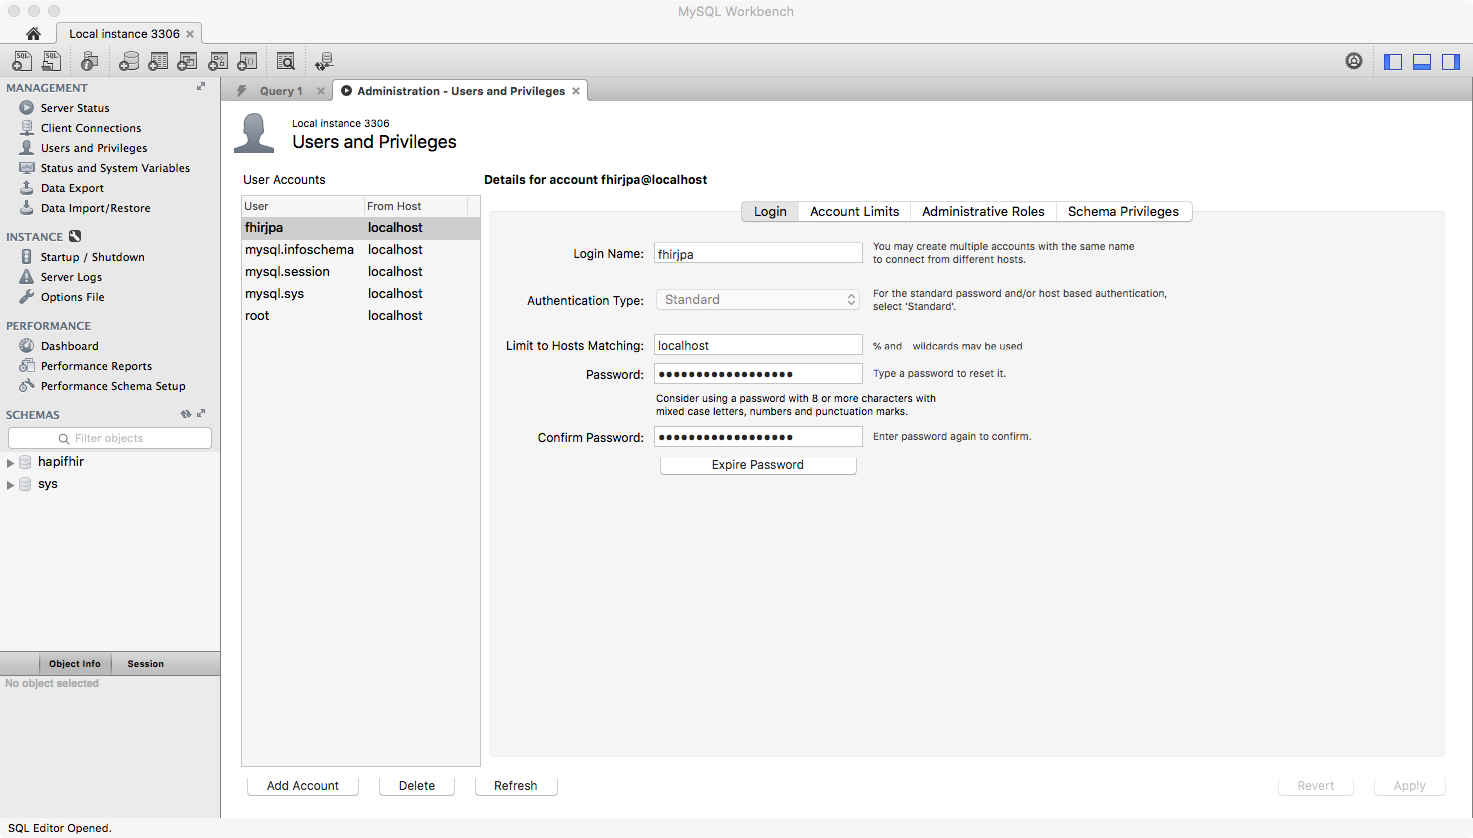
For the Account Limits and Administrative Roles tabs you can decide on what you would like to use. Then on Schema Privileges tab I suggest you grant all privileges to your user to the new schema you created.
Project modifications
Ok now its time to go back to the source code within your editor (in my case STS) and make some modification to the source code so it properly connects to our local mysql instance and newly created database schema.
1) The first modification was to modify the pom file and update the mysql jdbc driver dependency to be MySQL 8 compatible. Note: I was relatively surprised to find a mysql dependency already listed as the default code is setup to work with Derby. Changed
<dependency>
  <groupId>mysql</groupId>
  <artifactId>mysql-connector-java</artifactId>
  <version>6.0.5</version>
</dependency>
to
<dependency>
  <groupId>mysql</groupId>
  <artifactId>mysql-connector-java</artifactId>
  <version>8.0.11</version>
</dependency>
Next, modify the FhirServerConfig file. This file handles the creation of the DataSource to connect to your datastore. The file is present at src/main/java/ca/uhn/fhir/jpa/demo . You want to modify the dataSource() method and essentially change from connecting to Derby to connect to your configured MySQL instance. Change from
/**
 * The following bean configures the database connection. The 'url' property value of "jdbc:derby:directory:jpaserver_derby_files;create=true" indicates that the server should save resources in a
 * directory called "jpaserver_derby_files".
 *
 * A URL to a remote database could also be placed here, along with login credentials and other properties supported by BasicDataSource.
 */
@Bean(destroyMethod = "close")
public DataSource dataSource() {
	BasicDataSource retVal = new BasicDataSource();
	retVal.setDriver(new org.apache.derby.jdbc.EmbeddedDriver());
	retVal.setUrl("jdbc:derby:directory:target/jpaserver_derby_files;create=true");
	retVal.setUsername("");
	retVal.setPassword("");
	return retVal;
}
to
/**
 * The following bean configures the database connection. The 'url' property value of "jdbc:derby:directory:jpaserver_derby_files;create=true" indicates that the server should save resources in a
 * directory called "jpaserver_derby_files".
 *
 * A URL to a remote database could also be placed here, along with login credentials and other properties supported by BasicDataSource.
 */
@Bean(destroyMethod = "close")
public DataSource dataSource() {
	BasicDataSource retVal = new BasicDataSource();

	try {
		retVal.setDriver(new com.mysql.jdbc.Driver());
	} catch (SQLException sqle) {
		sqle.printStackTrace();
	}

	retVal.setUrl("jdbc:mysql://localhost:3306/hapifhir?serverTimezone=UTC");
	retVal.setUsername("fhirjpa");
	retVal.setPassword("fhirjpa");

	return retVal;
}
In summary, we are connecting to the local instance of MySQL running on port 3306. It is using the username and password setup as part of the MySQL config. Also note the serverTimezone that is passed in the JDBC url. It should correspond to the setting you set as part of the MySQL options file earlier. Also note this change requires two new imports into the java class: org.hibernate.dialect.MySQL57Dialect and java.sql.SQLException.
There is also a modification in the jpaProperties() method you need to make to indicate the hibernate SQL dialect that should be used. Change the original jpaProperties() method from
private Properties jpaProperties() {
	Properties extraProperties = new Properties();
	extraProperties.put("hibernate.dialect", DerbyTenSevenHapiFhirDialect.class.getName());
	extraProperties.put("hibernate.format_sql", "true");
	extraProperties.put("hibernate.show_sql", "false");
	extraProperties.put("hibernate.hbm2ddl.auto", "update");
	extraProperties.put("hibernate.jdbc.batch_size", "20");
	extraProperties.put("hibernate.cache.use_query_cache", "false");
	extraProperties.put("hibernate.cache.use_second_level_cache", "false");
	extraProperties.put("hibernate.cache.use_structured_entries", "false");
	extraProperties.put("hibernate.cache.use_minimal_puts", "false");
	extraProperties.put("hibernate.search.model_mapping", LuceneSearchMappingFactory.class.getName());
	extraProperties.put("hibernate.search.default.directory_provider", "filesystem");
	extraProperties.put("hibernate.search.default.indexBase", "target/lucenefiles");
	extraProperties.put("hibernate.search.lucene_version", "LUCENE_CURRENT");
//extraProperties.put("hibernate.search.default.worker.execution", "async");
	return extraProperties;
}
to
private Properties jpaProperties() {
	Properties extraProperties = new Properties();
	extraProperties.put("hibernate.dialect", MySQL57Dialect.class.getName());
	extraProperties.put("hibernate.format_sql", "true");
	extraProperties.put("hibernate.show_sql", "false");
	extraProperties.put("hibernate.hbm2ddl.auto", "update");
	extraProperties.put("hibernate.jdbc.batch_size", "20");
	extraProperties.put("hibernate.cache.use_query_cache", "false");
	extraProperties.put("hibernate.cache.use_second_level_cache", "false");
	extraProperties.put("hibernate.cache.use_structured_entries", "false");
	extraProperties.put("hibernate.cache.use_minimal_puts", "false");
	extraProperties.put("hibernate.search.model_mapping", LuceneSearchMappingFactory.class.getName());
	extraProperties.put("hibernate.search.default.directory_provider", "filesystem");
	extraProperties.put("hibernate.search.default.indexBase", "target/lucenefiles");
	extraProperties.put("hibernate.search.lucene_version", "LUCENE_CURRENT");
//extraProperties.put("hibernate.search.default.worker.execution", "async");
	return extraProperties;
}
Build and deploy: Now you are ready to build the project and get it deployed to your application server (Tomcat).
Create a maven build config: In STS, go to Run and select Run Configurations. Provide a name for the run configuration (i.e. fhir_restful_jpa_server_local) The Base Directory should correspond to your project workspace location, (i.e. ${workspace_loc:/hapi-fhir-jpaserver-example} ) and then in the Goals field you can enter clean compile package . This instructs maven to perform a clean up of the project, compile of source code, and perform packaging (in this case create a war file). You will want to make sure you have a Java 8 environment properly configured under the JRE tab. Once all set click “Apply” to save the modifications.
Run the maven build by clicking the “Run” button.
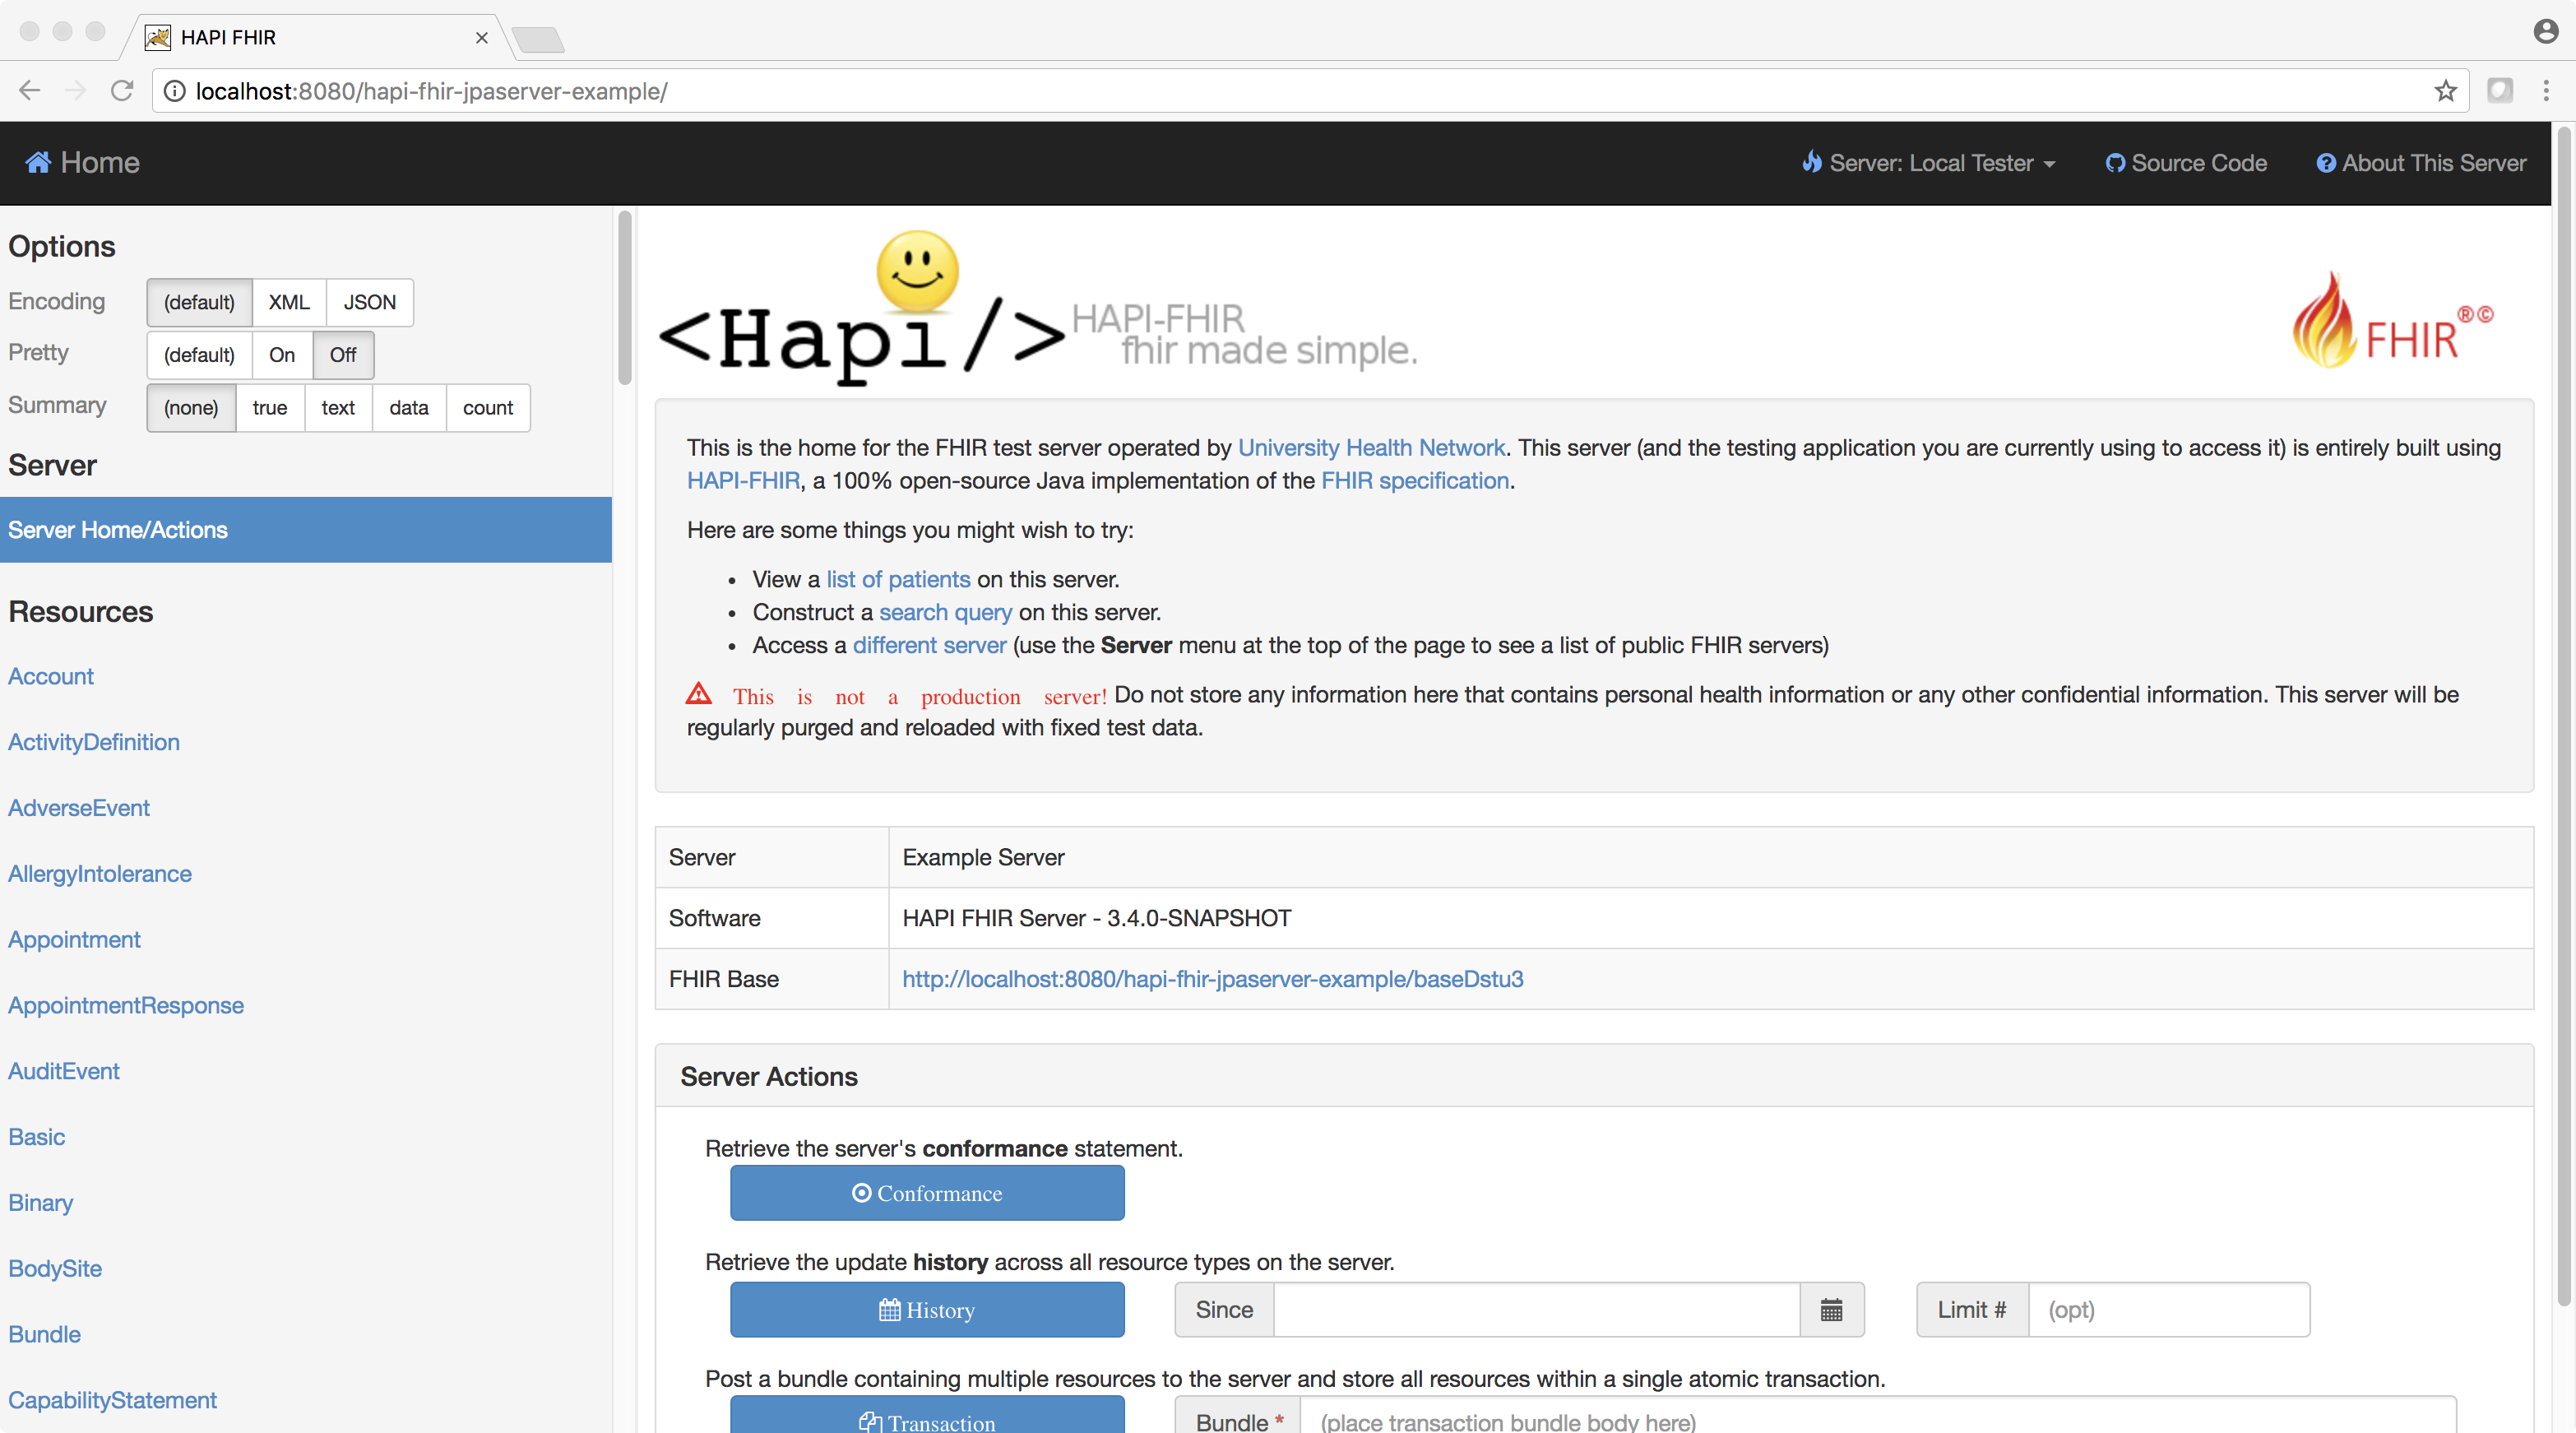
If the build completes successfully you should now have a war file named hapi-fhir-jpaserver-example.war present in the target folder of your project. Go ahead and copy that file and place under the webapps folder of Tomcat. Start up Tomcat and once started hit the following URL in your favorite browser:
http://localhost:8080/hapi-fhir-jpaserver-example/
You should now see the HAPI API UI